Get 10% off your first order
Find the office furniture that’s designed to match your style, comfort, and needs perfectly. Subscribe
Low-Profile Desks Built for Laptop Power Users

Visit quiz page to see how we makes it easy to create an inspiring workplace


Your desk should feel like a well-tuned instrument that supports the tasks you perform most often. Start by identifying the work you do in a typical week, then translate those activities into surfaces, zones, and supporting tools. Choose elevated workspace furniture that gives you enough depth for correct viewing distances, clean cable runs, and flexible placement of lighting and risers. The desk is not a passive slab, it is the platform that enables or limits every accessory decision that follows.
Divide the desktop into three rings. The closest area is the action strip where your hands naturally rest, which should host your keyboard, pointing device, and a small writing pad. The middle ring is for items you use periodically, such as a lamp base, a laptop riser, a document stand, or a power outlet within arm’s reach. The outer ring is staging, where reference materials or occasional tools live. This zoning reduces unnecessary reaching and keeps vertical sightlines clear.
Before adding any accessory, measure desk depth, monitor height, chair arm clearance, and the distance from your eyes to the screen. Record how much horizontal space you actually use during peak work periods. Accessories that look compact in isolation can crowd the surface once combined. The right measurements prevent buying a stand that blocks a lamp, or a lamp that casts glare across the keyboard.
A calm desk has a clear hierarchy. Taller elements should sit behind lower ones, heavier items closer to the visual center, and cables should flow in a single direction toward a managed exit. When the eye can read the arrangement quickly, the brain spends less effort resolving clutter and more effort on the work at hand.
Utility is not only productivity, it is comfort maintained over time. Follow ergonomic workstation practices to keep wrists straight, shoulders relaxed, and the top of the screen near eye level. Add accessories that reinforce these fundamentals rather than fight them.
Keep daily-use items within forearm distance so you can maintain a neutral spine. Position the laptop or monitor directly in front of you, and set lighting so that your writing hand does not cast a shadow over the work area.
Primary is where hands rest without leaning, which suits the keyboard and pointing device. Secondary is one small lean away, appropriate for a lamp base, a phone stand, or a small docking puck. Tertiary is for seldom-used items, ideally stored off the main surface to avoid visual noise.
Neutral posture means elbows near 90 degrees, wrists flat, eyes level with the top third of the display, and feet planted. Accessories should help you hold this posture. If a tool requires you to hunch, twist, or repeatedly reach, it needs a different position or a different form factor.
Small adjustments in chair position, arm angle, or viewing height restore circulation and alertness. Accessories that allow small changes, like adjustable risers and lamps with swing arms, support these beneficial shifts without disrupting workflow.
Set illumination levels that prevent squinting and avoid reflective glare on screens. Use diffused task lighting for close work and maintain softer ambient light to keep pupils from constantly adjusting. A balanced lighting plan reduces strain and supports sustained focus.
Power defines where devices sit, how far cables travel, and how clean the surface appears. Treat it as infrastructure rather than an afterthought.
If you rearrange often or share the desk with others, bring outlets to the edge of the surface using clamp-mounted power solutions. Clamp units keep plugs within easy reach, reduce under-desk crawling, and create a predictable path for cables along the rear rail or leg channel.
When you prefer a quiet, integrated look, place outlets inside the surface with in-desk power access. Embedded units create a clean plane with short cable runs that drop directly through grommets, which helps maintain an uncluttered visual field during deep work.
| Criteria | Clamp-Mounted Edge Units | In-Surface Modules | Portable Power Strips |
|---|---|---|---|
| Best Use Case | Reconfigurable layouts and shared desks | Permanent stations with clean aesthetics | Travel or temporary setups |
| Visual Impact | Minimal hardware visible at the edge | Nearly invisible from above | Visible, varies by design |
| Cable Routing | Along edge or leg channel | Straight down through grommet | Across surface to nearest wall |
| Installation Effort | Simple clamp placement | Requires cutout or pre-drilled opening | None, but less integrated |
| Repositioning | High, moves with clamp | Low, fixed once installed | High, but may add clutter |
Route cables along one predictable path, secure them with soft ties, and leave a gentle loop near each connector to avoid strain. Keep power bricks off the floor to improve airflow and reduce dust accumulation.
The laptop’s height dictates posture. A riser that sets the screen at or slightly below eye level works as an ergonomic hinge between body and device.
For compact desks or shared spaces, a svelte riser reduces footprint while delivering alignment. lightweight laptop risers elevate the screen without introducing bulk, leaving room for a notepad or an external keyboard in the primary zone.
Where tasks change throughout the day, height and tilt adjustments keep wrists neutral and eyes level. flexible elevation stands accommodate dual-display scenarios and collaborative reviews, so you can fine-tune viewing without rebuilding the desk each time.
Aim for a viewing distance of roughly an arm’s length, with the top of the display near eye height. Keep external keyboards flat or with a very slight negative tilt to minimize wrist extension. If you experience neck tilt, raise the stand or adjust chair height rather than leaning forward.
Do not let a stand push the laptop too far back, which forces reaching for the keyboard if you are not using an external one. Avoid stacking items under a stand to gain height, which compromises stability and airflow. Confirm that lamp arms and monitor edges do not cast shadows across the keys.
Light shapes attention. The most useful lighting plan has three layers that work together without glare.
Select a fixture that directs light where it is needed, provides a comfortable pool of brightness, and contributes to the desk’s visual rhythm. sculptural table lamps can deliver targeted light while introducing a pleasing focal point that frames the work zone.
Ambient light sets the baseline so eyes do not constantly adjust when you look away from the screen. Accent light defines edges and adds depth to shelving or wall art, which reduces contrast between bright screens and dark surroundings.
Use cooler tones for spreadsheet work or detailed layout tasks where crisp contrast helps. Shift to warmer tones during reading or ideation to encourage ease. If your lamp allows it, set a neutral middle value for general typing and calls.
Place the lamp on the opposite side of your writing hand to avoid shadows. Angle the shade so the bulb is not visible from your seated position, and keep reflective surfaces out of the beam to prevent hotspots near the screen.
Different roles place different demands on the surface. The best combinations emphasize the tools you use most while protecting posture and keeping power predictable.
Center the primary display and place the laptop on a low riser to the side for reference. Use edge power at the back right or left so cables exit cleanly. A small, cool-tone task light sharpens rows and figures without creating glare.
Adopt an adjustable riser for sketching and layout reviews, paired with a movable task lamp for directional control. Keep a blank staging area for physical references. When you switch from concepting to editing, tilt the display and soften light to reduce eye fatigue.
If you prefer multiple screens, keep the laptop slightly lower and to the side to prevent neck strain. Use in-surface outlets for a steady, uncluttered supply, with a cable channel down the rear leg. Maintain a small writing pad in the primary zone for quick notes between builds.
Position the lamp to create clear, flattering light for video calls. Keep the laptop at eye level on a compact riser and place a quiet power source at the desk edge for easy device charging before meetings.
For small or shared rooms, rely on space-saving desk accessories that integrate rather than add bulk. A slim riser, a clamp power unit, and a petite lamp can create a clean station on a narrow surface while leaving room for essentials.
Limited space calls for accessories that mount without drilling and that collapse or store quickly.
Use shelving above the desk for the tertiary zone, keeping rarely used items off the surface. Place the lamp arm so the head projects over the workspace without crowding the primary zone.
Clamps secure power and small shelves without permanent changes. Adhesive cable clips and soft sleeves guide cords toward one exit, which keeps the front edge of the desk free for your hands and maintains a clean frame in video calls.
Visual quiet supports sustained attention. Manage cables and keep the top clean so your brain can prioritize the task in front of you.
Route all cords toward a single exit point at the rear. Label both ends of each cable so you can unplug the right device quickly. Keep bricks and hubs off the floor by attaching them to a leg or to the underside of the surface, which reduces dust and keeps airflow consistent.
Leave a small empty rectangle beside the keyboard for a phone, pen, or external drive that you need to cycle in and out. This buffer prevents new items from creeping into the primary zone and causing crowding.
Accessories should reinforce each other’s strengths. Height, light, and power work best when balanced like a triangle.
Pair warm wood or laminate with low-gloss metal to create a quiet background. Consistent finishes across lamp, riser, and power hardware limit visual fragmentation. When materials look related, the brain spends less time resolving differences and more time on the task.
Leave breathing room between the lamp base and the riser so hand movements do not feel boxed in. Maintain a clear corridor for cables along the back edge so you can slide items forward or backward without snagging.
Choose items that adjust within reasonable ranges of height and angle. Small adjustment ranges are often more stable and sufficient for most bodies. As workflows evolve, accessories with simple controls keep pace without replacing the whole setup.
A stepwise approach avoids backtracking and ensures every accessory earns its place.
1. Confirm desk dimensions, seating height, and viewing distance.
2. Place the primary screen or laptop in the visual center.
3. Add a riser for alignment and test typing comfort with an external keyboard if needed.
4. Introduce power at the edge or inside the desk, then route one clean cable path.
5. Position the task lamp, adjust brightness, and check for reflections.
6. Assign primary, secondary, and tertiary items to their zones.
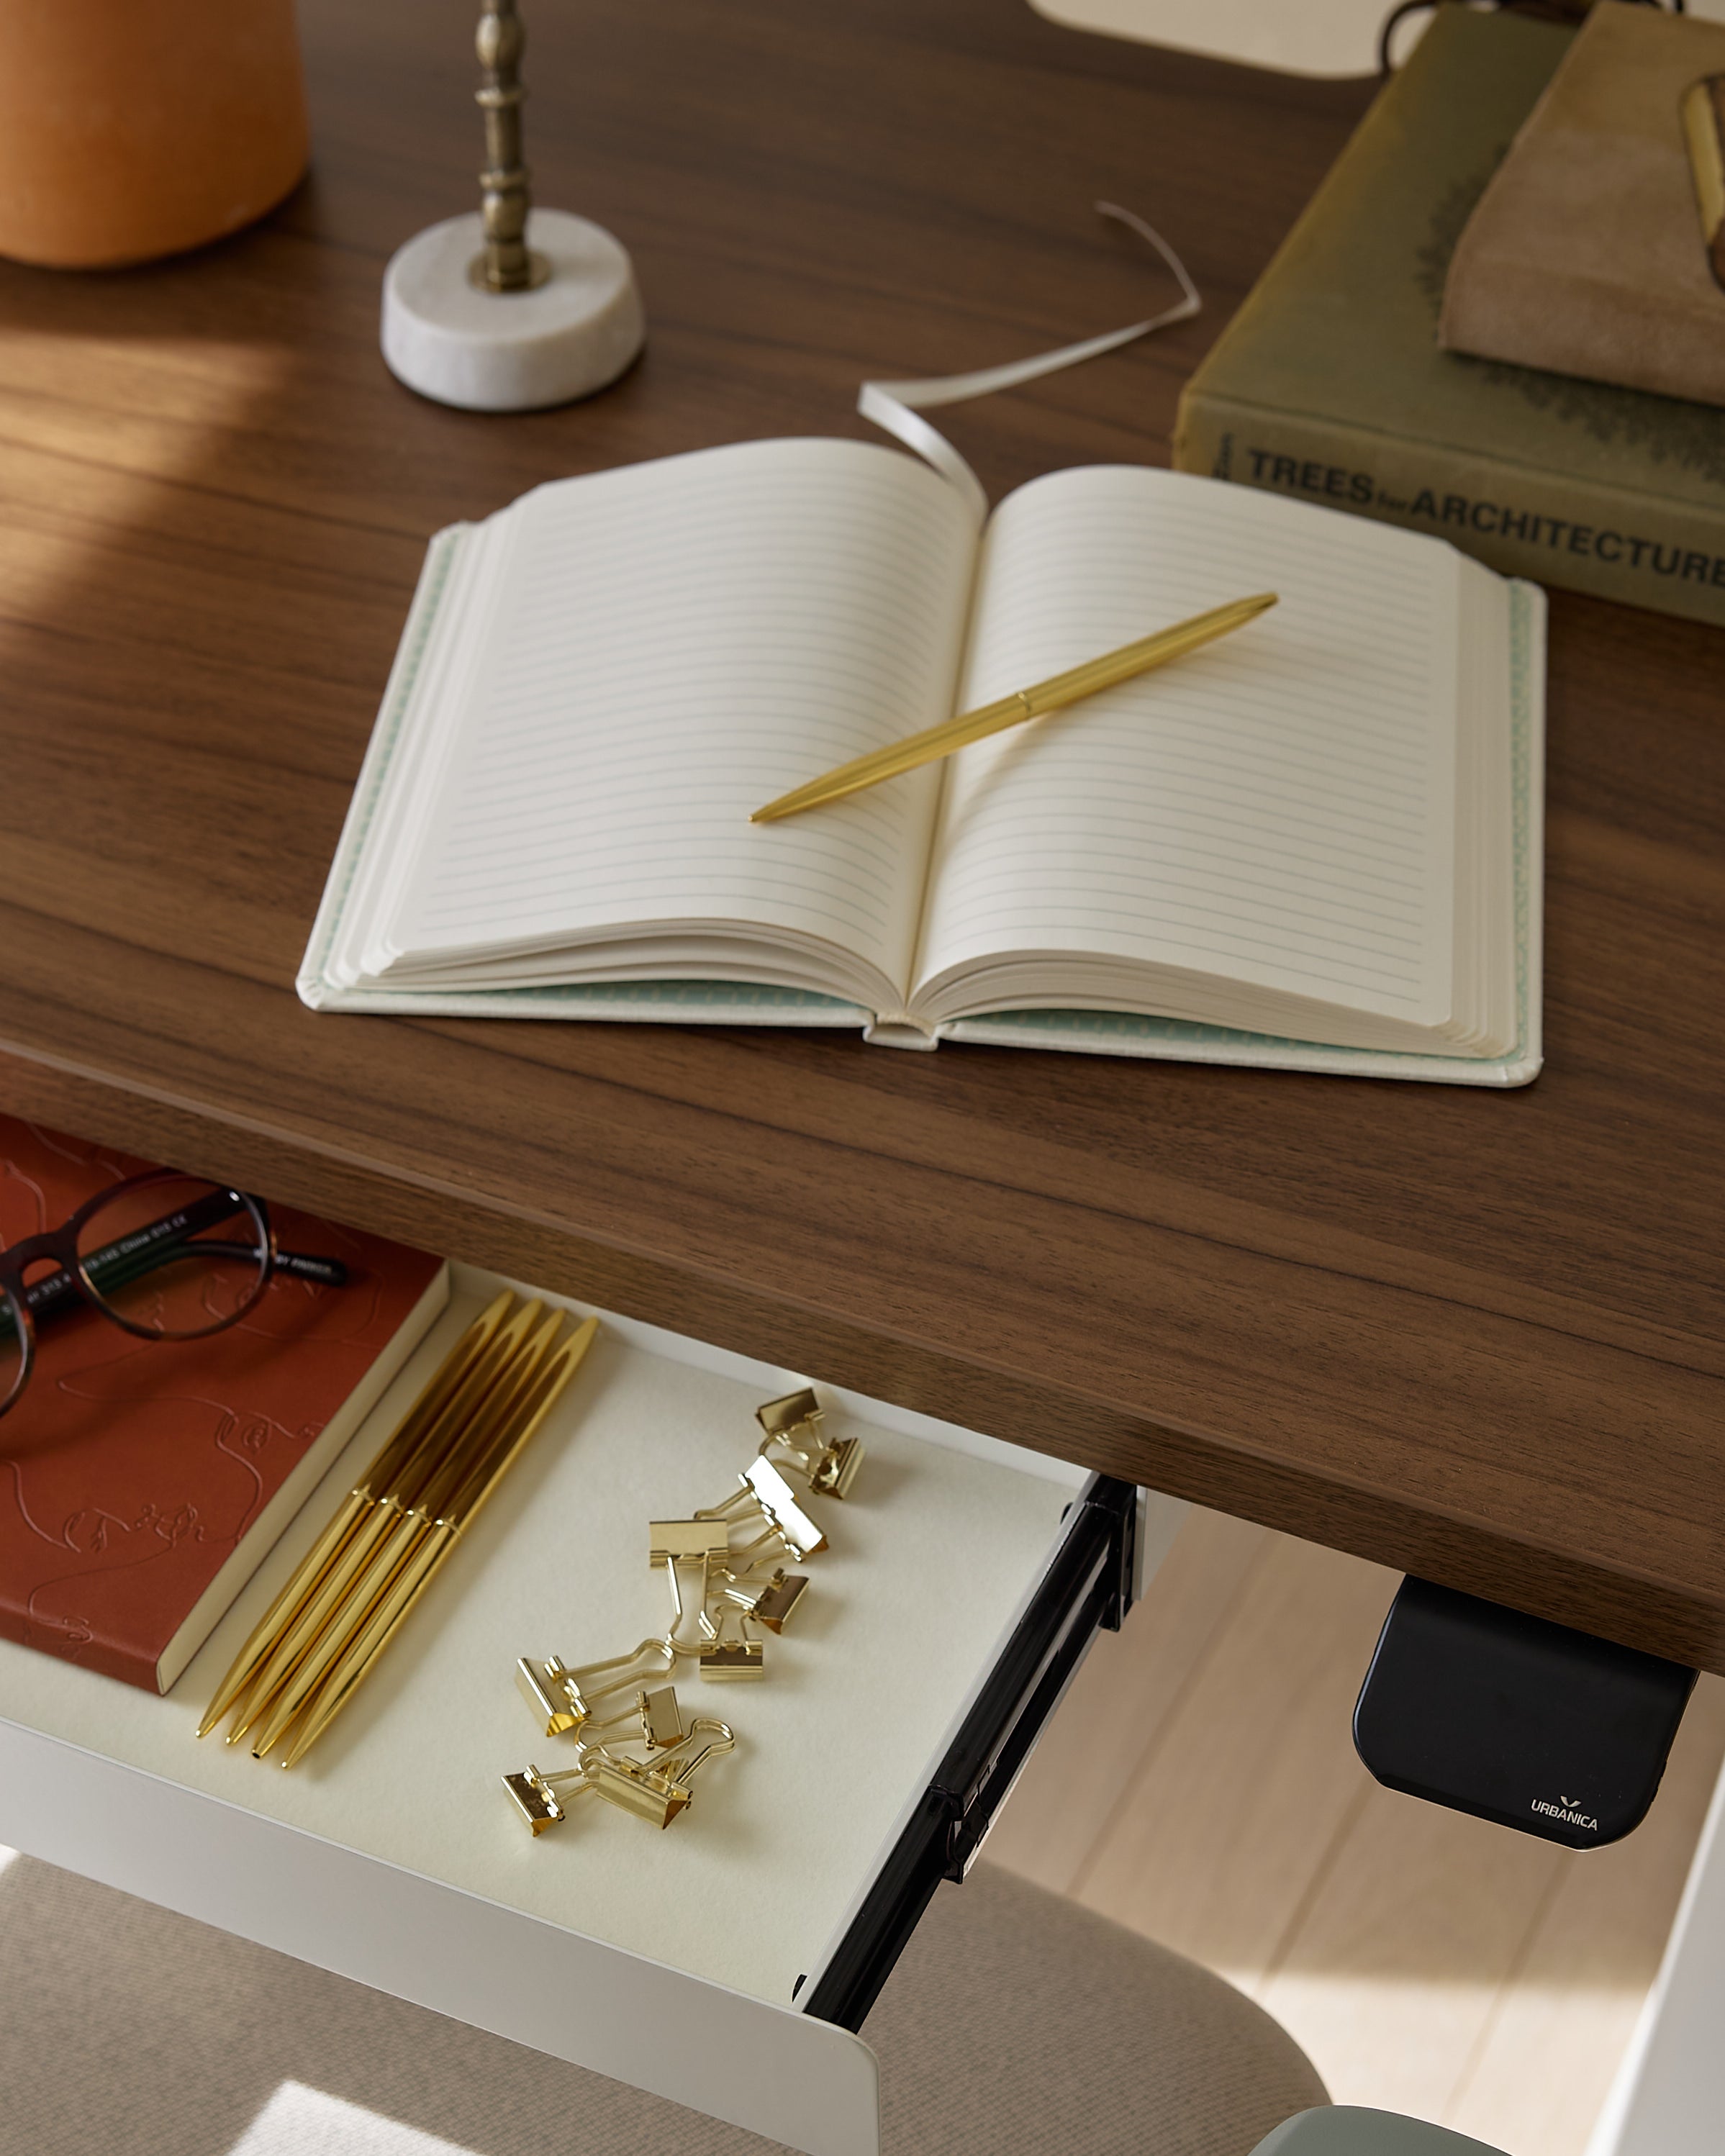
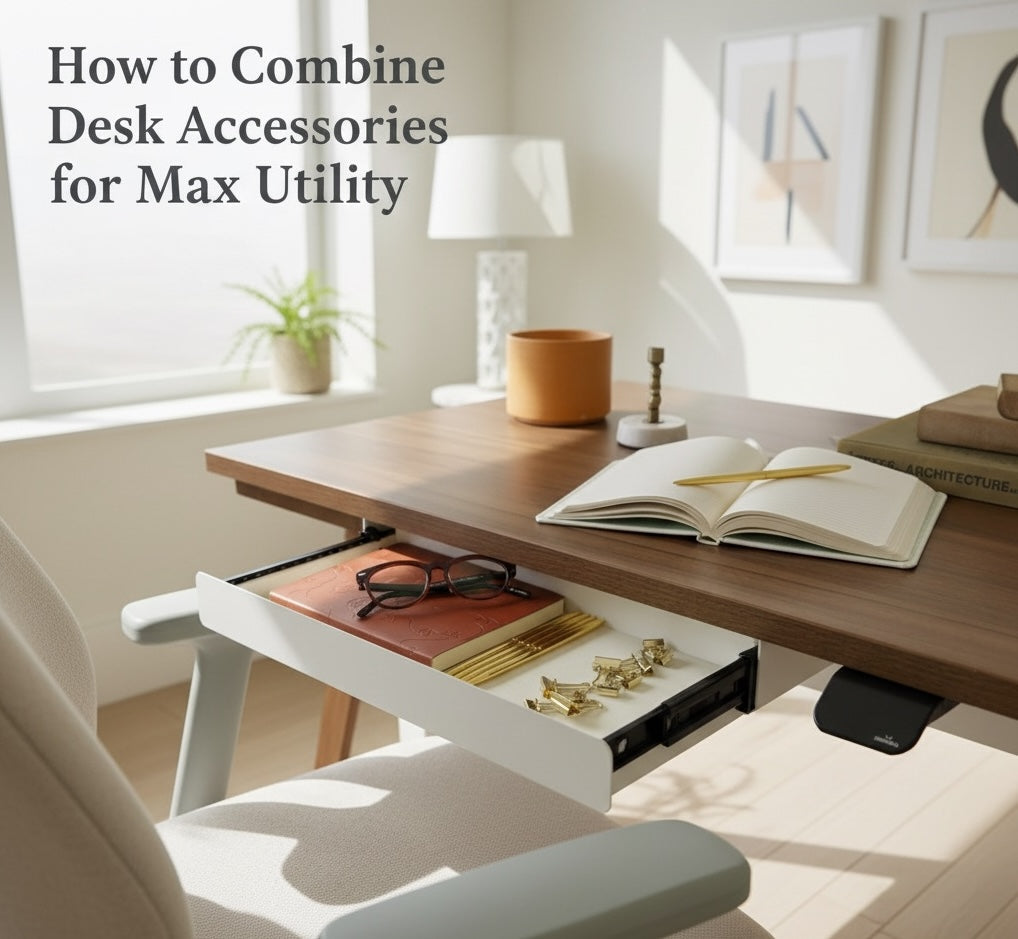
7. Create a maintenance tray or drawer insert for small tools and spare cables.
8. Work for a day, then fine-tune angles and spacing based on real-world use.
Even thoughtful setups can drift over time. Look for these signals and make targeted adjustments.
Raise the riser by a small increment or lower the chair slightly to bring eyes level with the top of the screen. Confirm that the lamp arm is not forcing you to lean to avoid glare.
Add a cable sleeve at the rear path and shorten excess lengths with soft ties. Move power closer to where devices live so cords do not cross the primary zone.
Angle the lamp so light falls across the surface rather than directly toward the eyes. Use a shade or diffuser to soften the beam, then increase ambient light slightly to lessen contrast with the screen.
A useful accessory should feel stable, operate smoothly, and integrate with the rest of the system without fuss.
Heavier bases and positive-locking joints resist drift. Smooth adjustments matter only if they hold their position under daily use. Favor mechanisms that can be tightened or serviced rather than sealed designs that loosen over time.
Confirm that the base fits your available depth and that maximum height aligns with your seated eye level. Check clearances for lamp arms under shelves and for stands beneath monitors to prevent collisions during adjustments.
Look for soft touchpoints where clamps and bases meet the desk. Consistent finishes are not just aesthetics, they indicate even manufacturing and easier cleaning, which keeps the setup attractive and distraction free.
Utility grows when you revisit the setup briefly and regularly rather than waiting for a major overhaul.
Wipe surfaces, verify cable ties, and make one small change to height or angle. Note whether the change improved comfort after a week.
Compare the current arrangement to your task mix. If a tool has become primary, promote it to the front row. If an item has gone dormant, demote it to storage to reclaim space.
Replace worn pads, update a single accessory that will unlock better ergonomics, and re-evaluate lighting as seasons shift. Thoughtful, incremental updates maintain comfort without creating waste.
Short, concrete recipes illustrate how accessories can be combined to solve everyday constraints.
Place the laptop at center on a thin riser, route power along the rear leg, and use a compact lamp with a forward throw. Keep a small timer or note card in the buffer zone to guide sessions and prevent the surface from filling with loose paper.
Use a clamp edge outlet for quick device swaps. Keep the riser at a compromise height that suits both people with minimal chair changes. Store small personal tools in labeled trays that slide into the tertiary zone when not in use.
Adopt a foldable adjustable riser, a slim lamp that tucks under a shelf, and a single cable sleeve that exits at the rear. Stow tertiary items in a vertical organizer mounted above the desk so the surface remains open for sketching.
A high-utility desk is one you can keep using as roles and tools change. Favor modular accessories that adjust within practical ranges, materials that age gracefully, and power options that can reposition or integrate cleanly. The aim is not a futuristic spectacle but a dependable station that protects your body, clarifies your work, and stays adaptable through steady, incremental refinement.

Low-Profile Desks Built for Laptop Power Users

Stands and Mounts That Elevate Desk

Table Bases That Won’t Wobble Over Time
Get 10% off your first order
Find the office furniture that’s designed to match your style, comfort, and needs perfectly. Subscribe
Leave a comment