










Filing Cabinet Choices for Cleaner Workstation Planning
Cleaner workstation planning starts with filing storage that matches the desk, document volume, security needs, and daily workflow. Explore how cab...
Learn more
Visit quiz page to see how we makes it easy to create an inspiring workplace


Tight rooms punish guesswork. A cable plan that works in a spacious office can turn into a snagging, dangling mess once a desk is pushed against a wall and the chair’s rolling path is reduced to a narrow lane. A clean setup starts by mapping how power and data travel through the space, then deciding where those paths can be hidden without blocking daily movement.
Treat cables like traffic. When they share the same lane, you get tangles at the intersections.
The power lane runs from the outlet to a power strip, then to any power bricks and adapters. In a tight room, the power lane should stay under the desk as much as possible and avoid the chair’s rolling footprint. The goal is not to make power invisible at all costs. The goal is to make it predictable, contained, and easy to access when you actually need to unplug something.
The data lane connects laptop or desktop to monitor, keyboard, mouse, and any external devices. This lane benefits from shorter runs and gentle bends. Data cables often have less tolerance for sharp kinks, and many desks in tight rooms force those bends unless you plan for where ports sit.
The low-voltage lane includes phone chargers, desk lamps, speakers, and small accessories. It is usually the easiest lane to tidy because it can be grouped behind a riser or routed along the back edge of the desk. Keeping it separate from the power lane reduces clutter where adapters live.
Small spaces create repetitive contact points. Those contact points are where cable creep begins.
The knee sweep is the front underside of the desk where legs move and where you shift your posture. Any cable that hangs below the underside plane of the desktop is at risk here. In tight rooms, the knee sweep also includes the area where you pull closer to the desk because you cannot slide far back.
The foot sweep is the floor path between your chair, your feet, and the outlet. If cables touch the floor in this zone, they invite dragging, dust buildup, and accidental tension when you roll your chair. The foot sweep is also where longer slack tends to collect, especially if cords are coiled near the baseboard.
Room size is less important than the distances between key connection points.
Outlet height and position relative to desk legs
Distance from the back edge of the desk to the nearest wall
Port location on monitor and laptop, including whether ports face back or sideways
Chair rolling radius and where your feet naturally rest
Once these are clear, the rest becomes a routing choice instead of a constant improvisation.
The desk’s position defines the cable story. In tight rooms, that story is usually either a wall-hugger layout, a corner tuck, or a slightly floating desk that leaves a narrow service gap. None is universally best. The right option is the one that aligns with the outlet location, chair movement, and how often devices get swapped.
A desk tight to the wall hides a lot, but it also makes access hard. A small service gap can be the difference between a tidy system and a system you never want to touch again.
A narrow gap behind the desk allows cords to run down cleanly without being crushed. It also gives you space to plug in or unplug without forcing the desk forward every time. The gap does not need to be large enough for storage. It needs to be large enough for control.
In a tight room, it is normal for one cable bundle to travel down from desk level to the outlet. The trick is choosing a drop location that avoids the chair’s path and does not sit where your knees or feet will constantly touch it. The most reliable spot is typically closer to a rear corner, aligned with the outlet, then tucked along the wall side.
Corners give you two walls to work with, which can help hide cables. They also create a pocket where power bricks pile up and where airflow can be reduced.
Power bricks and adapters are safest when they are not tightly layered. Tight stacking can make it harder to trace cables, and it can create a jumble that you avoid touching. A better approach is to keep bricks in a contained area under the desk, spaced enough so you can identify them and unplug them without yanking the wrong cord.
When the desk is near two walls, cords often exit the desk area and immediately bend. This is where a planned path matters. Instead of letting cables take the shortest path, let them take the gentlest path. Gentle bends last longer and look cleaner.
In tight rooms, the underside of the desk is the real workspace. A clean underside gives you mounting zones, predictable paths, and fewer obstacles.
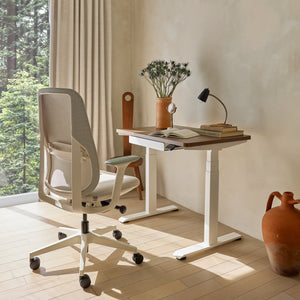
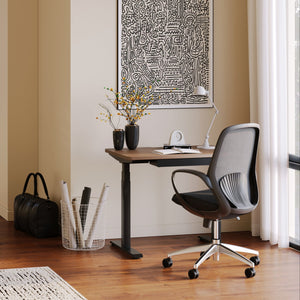
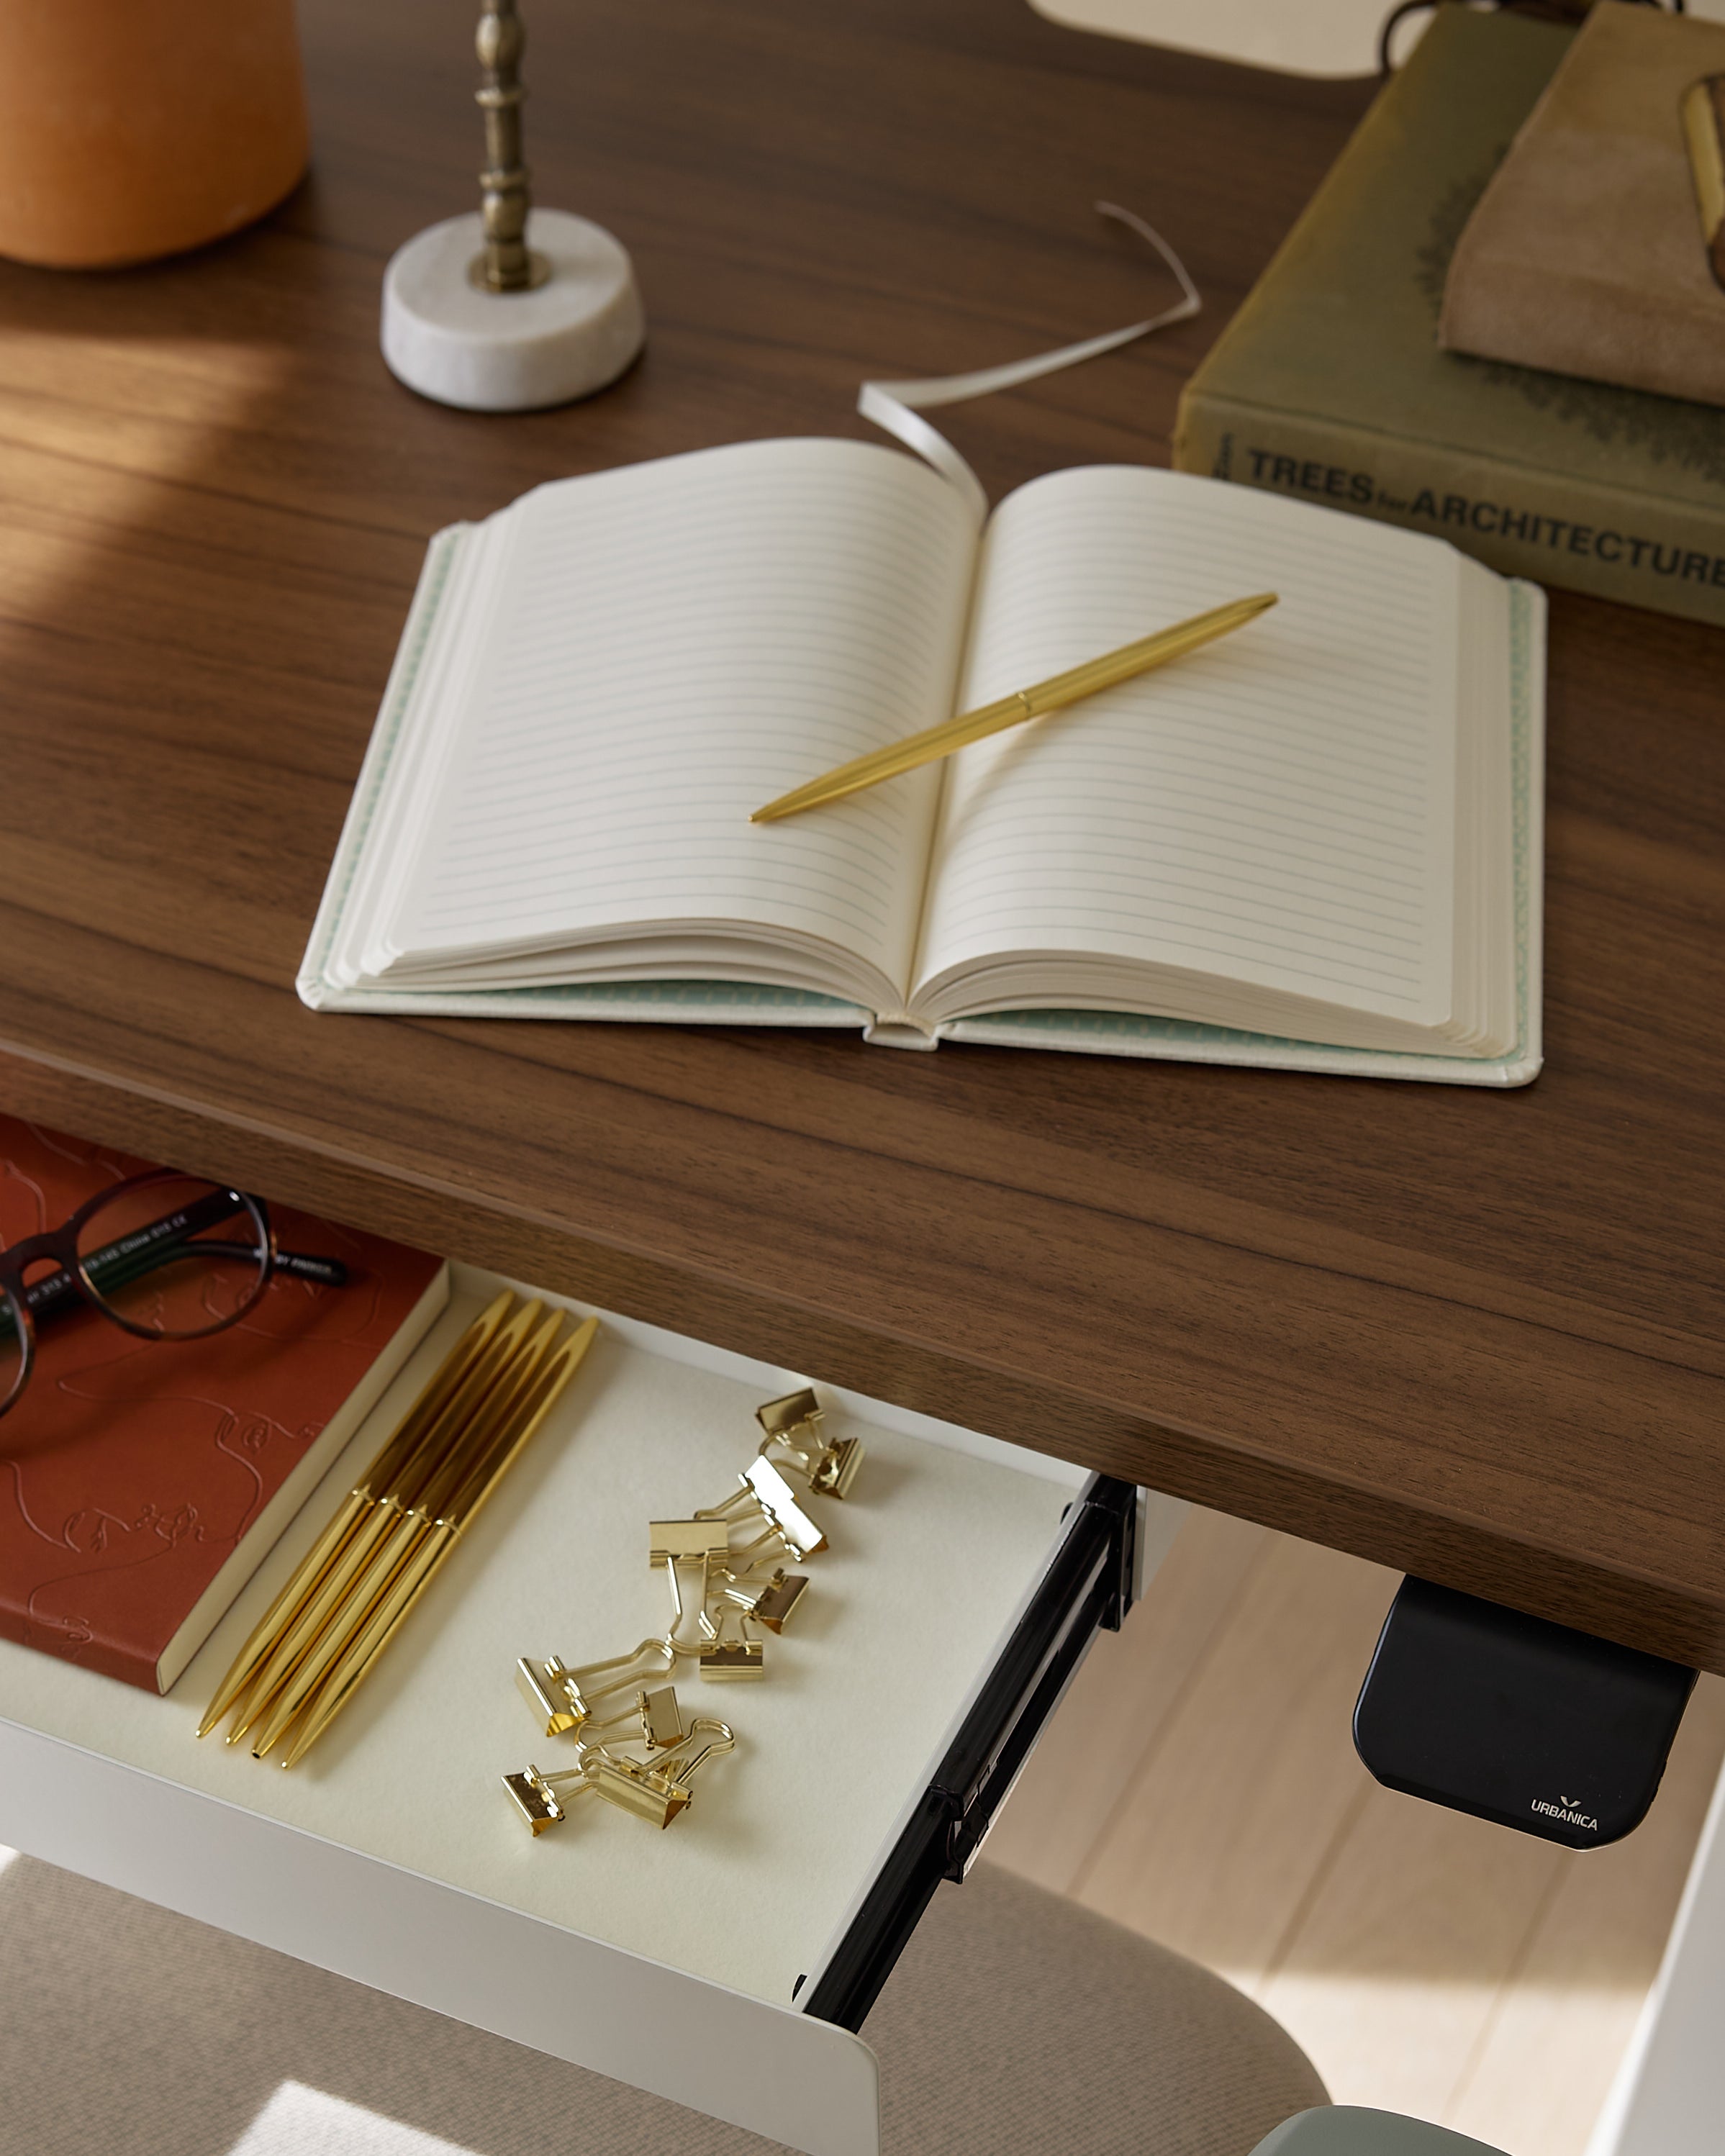
Look for a desk with enough clearance under the top to mount cable containment without interfering with knees. Even a simple tray or channel needs a consistent plane to mount and a consistent space to keep cords above the knee sweep. The underside layout of the Urbanica Office Desk supports a cable plan when you treat the underside as a system rather than a random space for cords.
Crossbars and supports are not problems. They just change where you mount. A crossbar can also become a routing line if you plan for it, but it can block an under-desk tray if placed too close to the back edge. In a tight room, you want predictable anchor points that help keep cables off the floor.
A cable mess often feels bigger than it is. A quick audit turns an overwhelming tangle into a set of simple decisions. The goal is not to delete cables. The goal is to stop carrying cables that do not need to live at the desk full-time, and to keep the rest in defined lanes.
Device-by-device thinking tends to create duplicates and abandoned cords. Function-based thinking reveals what actually matters.
These are the cables that make the desk work every day. Monitor power, primary computer power, and essential input devices belong here. Must-stay cables should be routed in the most protected lanes and anchored so they cannot drift into the knee or foot sweep.
Swap cables are for occasional use. Charging cords for accessories, camera cables, spare USB connections, and temporary devices belong here. The key is to store swap cables where they are accessible without being in the way. A small hook, a drawer, or a dedicated clip zone keeps them from migrating into the main routing lanes.
Excess length is unavoidable. What matters is where the slack lives.
Slack on the floor spreads outward, catches chair wheels, and becomes a dust magnet. It also tempts quick fixes, like pushing the coil into a corner, which makes future adjustments more annoying.
Instead of coiling slack near the outlet, store it under the desk in a containment zone. This keeps the floor clear and keeps the slack close to where the cable originates, which makes future changes easier.
Labeling does not need to look like a server room. The most useful labels are small and placed near the plug end so you can unplug confidently.
Label only the cables that look similar
Label the plug end, not the device end
Use simple names that match your mental model, such as Monitor Power or Dock USB
In tight rooms, labels reduce the urge to pull cords to identify them. Pulling cords is how tidy setups unravel.
The best tight-room cable system concentrates clutter into one predictable area. Under the desk is ideal because it keeps cables off the floor and out of sight lines, and it protects them from daily movement. The safest approach is containment first, then fine routing.
Power strips and bricks are the visual center of most cable messes. When they are contained, everything else becomes easier.
If outlets face inward, cords can be routed into a contained area and hidden more easily. If outlets face outward, it can be easier to plug and unplug without reaching, but cords may spill out visually. Tight rooms often benefit from inward orientation if you still maintain access via a service gap or a reachable edge.
A power strip placed too far forward becomes a knee hazard. A strip placed too low becomes a foot hazard. The safest area is typically toward the back underside of the desk, where it can be reached by leaning slightly rather than by crawling under the desk.
Scattered clips feel tidy at first, but they create multiple points of failure. A single containment zone reduces maintenance.
Think of the containment zone as a cable “home base.” Power enters, adapters live there, and cables exit in controlled branches. When cables have a home base, they stop drifting into the knee sweep and stop collecting on the floor.
A tight room demands that you can reach your cables without moving furniture. Placing containment closer to a rear corner often balances access and visibility. It also encourages a single vertical drop rather than multiple dangling cords.
When the goal is to move from visible clutter to controlled routing, an under-desk containment solution can simplify the setup. The Under-Desk Cable Management accessory is aligned with that purpose because it provides a dedicated area under the desk to gather cords and power components into a single managed zone, which is especially valuable when floor space is limited.
The vertical drop is where a tidy desk either succeeds or fails. In tight rooms, a messy drop becomes visible from every angle. A controlled drop looks intentional and stays out of the chair path.
The goal is a single bundle that travels down in a predictable line.
If your chair rolls mostly straight in and out, a rear corner drop that sits outside the rolling line keeps cables safe. If your chair swings side-to-side, the drop should be placed on the wall side where the chair rarely travels.
Strain relief means the cable is anchored before it reaches the port, so the port does not take the pull. A small slack loop near the device, then an anchor point, prevents accidental tension from being transmitted to the monitor or laptop connection.
Sometimes a desk needs to move slightly for cleaning, for access, or just because the room is tight. A modular spine can keep the drop organized in those situations.
A segmented approach supports a controlled drop while allowing the cable bundle to flex. This helps keep cords aligned instead of fanning out as the desk moves.
A spine should guide cables, not force them. If the bundle is too tight, it can pull on device connections when the desk shifts. Leaving gentle slack at the top and allowing the spine to flex prevents that pull.
The Spine Cable Management accessory fits naturally in this section because it is designed to guide cables along a vertical path from desk to floor, which reduces visible dangling cords and protects the foot sweep in tight rooms.
Tight rooms benefit from fewer visible cables and fewer long runs. Screen positioning can do more for cable cleanliness than most people expect, because it determines where cables exit and how much slack is needed.
A good screen position hides cables behind the display plane and keeps the data lane short.
Rear ports allow cables to route straight down behind the monitor. Side ports tend to push cables outward and make them visible from an angle. For side ports, a cleaner approach is to route cables backward immediately, then down, instead of letting them travel sideways.
A stand or riser can act like a routing shelf. Cables can run behind it and drop down closer to the desk’s rear edge, which reduces the temptation to pull cords across the desktop.
Most cable clutter shows up where plugs are frequently used. That is usually a hub or dock.
A tight room setup works best when frequently used ports are accessible near the front or side, but cables are routed immediately into the containment zone. The solution is often a hub that sits under a riser or near the underside edge, where it can be reached without being displayed.
A hub that hangs by its cables will drift. Drift creates visible loops, and loops create tangles. Anchoring the hub is as important as anchoring the cables.
A stand can support cleaner cable paths by lifting devices and providing a space for cables to route behind and beneath. The monitor & laptop stand collection is relevant here because stands and risers can help reduce cable length requirements, create consistent routing paths, and keep the desktop surface clear in tight rooms.
Height-adjustable workstations add movement, which means cables need a plan that works in more than one position. In tight rooms, the consequences of a bad plan are immediate because there is no extra space to absorb slack.
A movement loop is a controlled segment of slack that allows the desk to rise and lower without pulling on cables.
Extra slack belongs in the moving segment, not in the foot sweep. Slack on the floor invites snags, and slack near the chair invites rolling hazards.
Slack that rubs on desk edges tends to drift and show. A better approach is to anchor the cable path under the desk and reserve a small controlled loop near the moving frame.
Standing desks have areas where parts move relative to each other. Cables should never cross those areas.
Pinch zones are where two parts come together as the desk moves. Routing through pinch zones risks wear and unexpected tension.
When possible, route cables so they move with the desk frame rather than dragging against it. This reduces wear and keeps the movement loop predictable.
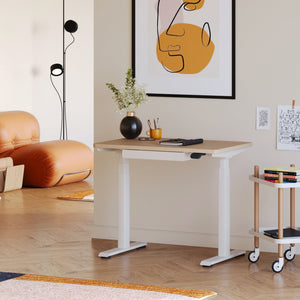
A height-adjustable desk benefits from consistent under-desk containment and a controlled vertical drop. The Urbanica Standing Desk aligns with this approach because an adjustable workstation requires cables to be routed in a way that supports movement while keeping the floor and knee zones clear.
Cable management is not only about where cables live. It is also about how you move. In tight rooms, a chair’s rolling path and your natural posture can undo an otherwise tidy setup.
Your chair tells you where cables cannot go.
Roll forward, roll back, and swivel as you normally do. Note where the chair base and casters travel. Any cable that enters that travel lane will eventually get pulled, scuffed, or snagged.
The easiest way to avoid caster contact is to place the drop on the wall side and keep the floor clear. If the outlet is in a tricky spot, route along the baseboard where feet do not normally travel rather than cutting across open floor.
Comfort and cable safety overlap in tight rooms.
If armrests bump the desk or force you into awkward posture, you will shift more often, and shifting increases knee sweep activity. Keeping your posture stable reduces incidental cable contact.
A compact desk does not leave room for dangling cords. Your knees need a clean plane under the desk. Anything that hangs below that plane will eventually become a snag point.
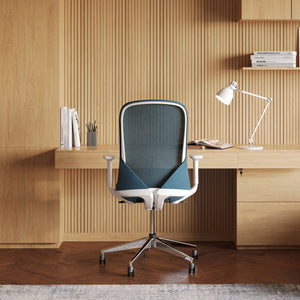
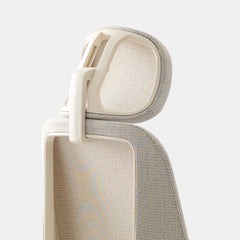
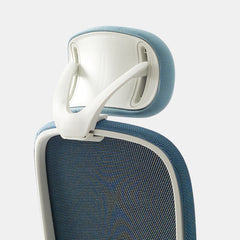
A chair that supports stable posture and smooth movement helps protect the cable plan. The Novo Chair fits here because seating influences how you roll, how you shift, and how often you bump the underside of the desk, which directly affects cable drift in tight rooms.
A clean result comes from the right order of operations. Tight rooms do not forgive doing steps out of sequence, because every step affects access to the next one.
1. Define the outlet approach
Identify the cleanest path from outlet to desk that avoids the foot sweep. Decide where the vertical drop will land.
2. Place the power strip location under the desk
Choose a rear underside zone that is reachable but not in the knee sweep.
3. Create the containment zone under the desk
Gather power bricks and excess length into one area so nothing hangs below the underside plane.
4. Build the vertical drop
Route the bundle down along the selected corner so it stays out of the chair lane.
5. Branch the device connections
Route monitor and laptop connections from the data lane into the containment zone, then out to devices with gentle bends.
6. Add strain relief and tune slack
Anchor before ports and keep only the slack needed for movement, especially if the desk adjusts.
7. Do the visibility sweep
Sit, stand, and roll. If anything touches knees, feet, or casters, adjust that segment before calling it done.
A tidy system stays tidy when it is easy to reset.
Gently pull each device cable near the device to confirm the port is not taking tension. If it is, add strain relief or move the anchor point.
Keep power bricks and adapters from being buried under loose slack. A containment zone works best when it is organized enough to see what is happening.
Reconfirm the single visible drop. If new cables appeared on the desktop, route them back into the same lanes instead of creating a new path.
Different rooms call for different solutions. Tight rooms tend to value floor clearance and predictable access over perfectly hidden cables, because access often determines whether the setup stays maintained.
| Routing method | Best use in tight rooms | Visibility outcome | Capacity and adaptability | Access for swaps |
|---|---|---|---|---|
| Under-desk containment accessory | Consolidating power strip, adapters, and slack in one zone | Low visibility when placed toward the rear underside | High capacity for mixed cables and bricks | Moderate, depends on placement |
| Adhesive clips along the back edge | Guiding a few light cables with minimal hardware | Low if cables are thin and routes are planned | Low to moderate, can get crowded quickly | High for individual cable changes |
| Cable sleeve for a bundle | Making a single drop look clean and unified | Medium to low depending on where it is placed | Moderate, can be tight if bundle grows | Moderate, requires opening sleeve |
| Modular vertical spine | Keeping the drop controlled from desk to floor | Low when aligned to wall side | Moderate to high, supports movement | Moderate, depends on how cables are fed |
In a tight room, the most stable approach is usually containment plus one controlled drop. Clips and sleeves can complement that, but they rarely replace it when adapters and power bricks are involved.
Some tight rooms are difficult because of outlet placement, shared spaces, or furniture constraints. In those cases, the best outcome comes from seeing the full setup as a workspace system rather than as a cable problem.
A tight-room setup improves quickly when you can point to the real constraints.
A simple photo of the outlet and baseboard area plus the distance from outlet to desk corner reveals whether the vertical drop should be left, right, or centered.
List the monitors, laptop, chargers, speakers, and any peripherals. This determines how many cables belong in each lane and whether a hub strategy will reduce clutter.
A short visual of how you sit and roll shows where the chair lane is and where the drop should not be.
When you want to explore workspace options and support in one place, the local delivery and workspace planning page is a natural reference point for how we think about building cohesive setups that fit real rooms, not idealized floor plans.
Tight rooms change over time. A new monitor, a different laptop, a printer, or even a new charging habit can stress the cable plan. A scalable approach keeps the structure intact while allowing small changes.
A tidy setup does not mean every cable is locked in permanently. It means the structure can handle change.
Reserve one clean route in the containment zone for future additions. This could be an extra clip point, a spare tie point, or a small open channel. The point is to avoid running new cables across the desktop when something new arrives.
Anything that changes often should be accessible. Anything that stays should be anchored and contained. When you separate those two categories, the system becomes easier to maintain.
A tight-room setup has a practical finish line.
Most tight rooms will show something. A single visible drop that is aligned, contained, and out of the way looks intentional and reduces mental clutter.
When cables are reachable, they get maintained. When they are hidden in a way that blocks access, they get ignored until the mess returns. The strongest tight-room cable setups balance clean sightlines with practical access so the workspace stays calm and functional day after day.


You have unlocked free shipping!
You're saving $29 and unlocked free shipping!
Leave a comment